
 Here are a few tricks and tips to take your photos from amateur to professional in no time!
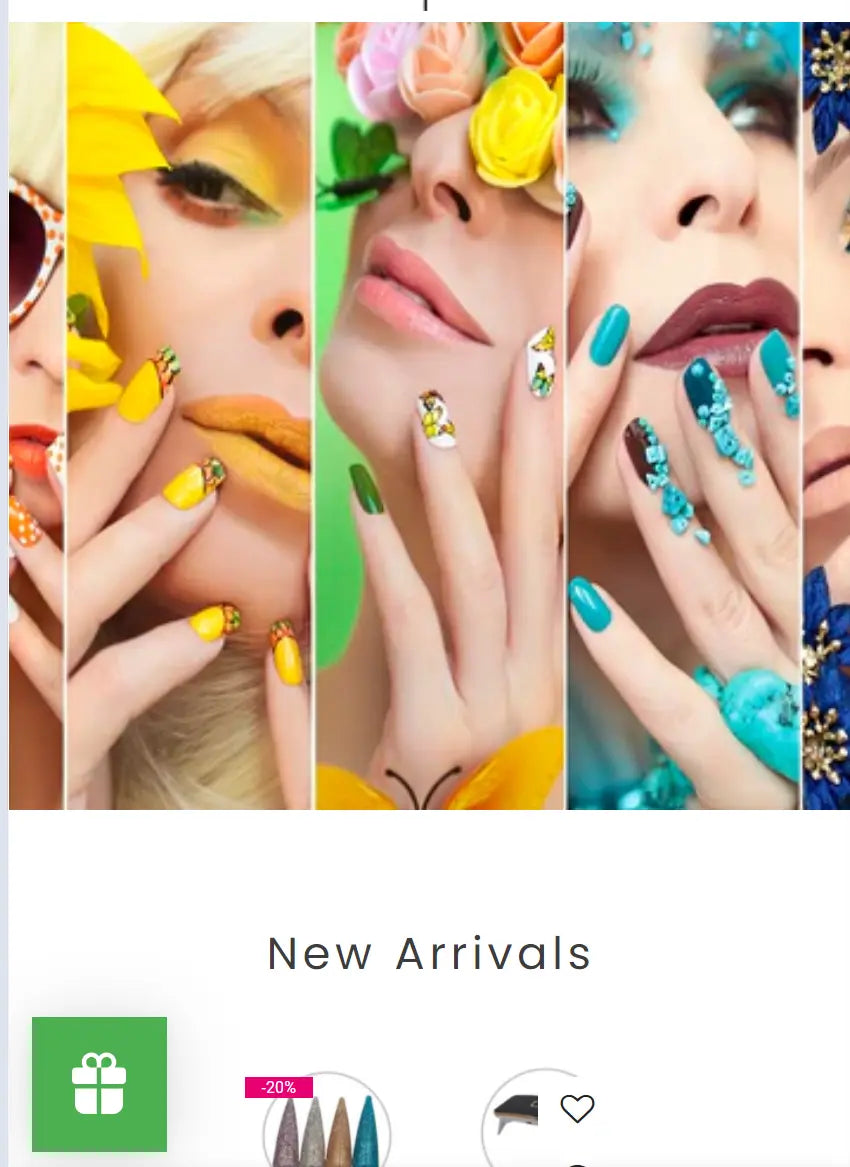
Tip #1: Use a plain coloured background
Most technicians photograph the client's hands on a table. You can still get beautiful images using a table with a smooth finish, but eventually your eye will skip over it. Using the same background every time you take a photo of your designs is not advised. That being said, it is also not necessary to change the background every day. Just change it up every now and then. Use the photo with the coloured background for your advertisements and marketing. It is up to you how many colours you would like to add into your background, whether it is one bright colour, two-toned or multi-coloured. Choose a colour that will compliment your design - it should highlight one of the aspects of your design or set the mood that you are trying to convey with your design.
Tip #2: Use props
Instead of placing your client's hands neatly over each other, why not give them a prop to play with? Props can include anything from clutches and display crystals to the nail products that were used to create the design. Using a prop gives the image a different texture. The only tricky part about using a prop is that you should handle the prop in such a manner that you display all the nails on your hand. Always ask you client to turn their nails towards the lens of the camera.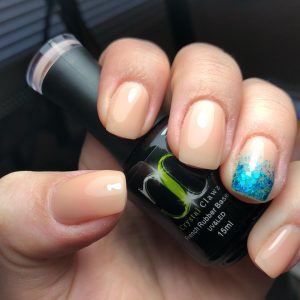
Tip #3: Accessorize
There is no need to remove all accessories when taking a snapshot of your designs. Put on rings, a watch, bracelet or anklet to add some bling to the photo. Use a dramatic ring to level up the drama on a bold design. A fine anklet will perfectly compliment a nude pedicure. Look to what inspired you to create the design and choose an accessory based on that.
Tip #4: Try a few different backdrops
There is no need to have a plain background all the time. Why not try a chess board or computer keyboard as a backdrop for a black and white nail design? Whatever backdrop you choose, make sure that it is relevant to the design that you have created.If you would like to try out a few original backdrops, make sure that they aren't cluttered. You want the viewer's attention on the nails, not what is happening around the nails.
Tip #5: Use photo editing apps
Unless you have a strict policy against editng photos, why not try a few of these apps to enhance your image's colour and definition? Play around with the possible effects you can use and find one that takes the photograph to the next level. Small imperfections can also be edited out. Any particle of dirt or mark on the skin detracts the viewer's attention from the nail design. There are several apps that enable movement on static images or blend images into one another. The options are endless. Start playing with a few apps to spice up the photos of your designs.
Tip #6: Good Lighting
I cannot emphasize this enough - good lighting is vital to taking a good quality image. A lack of lighting will make editing your photo almost impossible. Use good natural light or daylight lamps to brighten up the image. If you choose to use natural lighting, do so outside, but not in direct sunlight. Harsh sunlight tends to change the colours of the polish you are using. This can become problematic, because in the end you are advertising your products. You can even build a lighting box for yourself. Cut two holes into a box - one on the side for you to place your hand in and one on the top surface of the box for you to place your camera lens in. Line the box with tin foil, switch your camera's flash on and snap away! Most nail technicians create their own lighting boxes, so figure out what works for you.
Tip #7: Dress it up
Why not incorporate your outfit into the photo? If the subject of the photograph is wearing an outfit that suits the design of the nails, take a photo where the hands of the subject is laying on their lap. This may feel more comfortable for you or your client.Tip #8: Moisten dry hands
Hands are consistently exposed to several elements that tend to dry out the hands. Apply a bit of moisturizer or hand creams to hydrate the dry bits on your hands and fingers. This softens the skin of the hands to avoid any dry or cracked skin popping up in one of your images.
Tip #9: Take a series of photos.
If you take 100 selfies and begin sorting through them, you usually end up with less than 10 photos that you approve of. It's the same with taking photos of your design. Don't feel shy to take a ton of photos and try several different poses, backdrops, props and accessories. Taking one or two photos will be sufficient to create a post for your salon, but it won't have that wow factor that you are looking for. There is no cutting corners with art. The visual representation of your work needs to stand out above the rest. People like pretty things, so make your image mesmerizing, so that they don't forget your brand.Tip #10: Soft and elegant hand poses
Keep the hands in a natural placement. Any tension in the fingers or hands will come across in the photo. Awkward poses should be avoided at all costs. As soon as the pose looks staged, it ruins the mood that the nail design creates. The whole image will look flat. Relax. Keep your hands soft and natural. Have a look at our website for more tips and information:
https://www.crystalclawz.co.za/
Have a look at our website for more tips and information:
https://www.crystalclawz.co.za/